Dec 14, 2010

Dec. 14: kitchen set

Today I'll show you a christmas gift I've made for my mother. It's a set with an apron and two kettle-holders.


I attached the kettle-holders to the apron with some velcro, but the kettlehoders still have a loop so that you can hang it on a hanger if you prefer.


The apron has a pocket and loops where you can put scissors or something else you use much when cooking.


Inside the kettle-holders I used a material that is heat isolating. Just ask in the fabric shop and they'll probably help you find some.


Isn't the fabric cute!? It was a pelmet I found in a thrift store.

Hope mum will like it as much as I do ;)

Dec 13, 2010

Dec. 13: handkerchief case

A short update for the 13th day of my calendar. I've made a case for my handkerchieves:


This was not my idea, I stole it from here. I didn't follow the tutorial, but I guess I made almost as described there.


They are so cute and easy, so I made one for my sister too.

Tomorrow I will show you something a little more advanced than this, promise!

Dec 12, 2010

Dec. 12: pictures on the wall

Me and my sister found two bags full of photographs home in our parents house. Most of them my mum has shot. She's so good! We picked some of the best ones and put them on the wall over our sofa:


Put some string between two nails and put up the pictures with paperclips.

Dec 11, 2010

Dec. 11: plastic ring

Today I've made a ring with shrink plastic:


You need shrink plastic, a ring, super glue and an oven.

Draw your design onto the matt side of the plastic. The figure shrinks to a third of their original size and get thicker when it's in the oven later, som draw it three times as big as you want your result. These are the measures of my ring:


Cut out the design. Place it on baking paper on a baking sheet. Heat in the oven at 175 degrees celsius. When the plastic is lying still, it's ready. Take it out from the oven and place it immediately under something flat and heavy.

Glue it on the ring and let it dry. Ready!


Dec 10, 2010

Dec. 10: fabric canvas

Today I've made two fabric canvases. If you have scraps of fabric that are too nice to throw away, this can be a good way to use them.


You'll need canvases, fabric and a staple gun.

Put the canvas on the fabric and fold it around the canvas. Fold in the corners. Staple on the backside and don't forget to stretch the fabric!

Goodnight folks!

Dec 9, 2010

Dec. 9: pen trays

While digging through a storage at my mum and dad's place, I found these two small boxes that I grabbed.


I cleaned them, painted them and glued twoo pieces of lace on them. (yep, I like lace) And here's the result:


I decided to use them as pen trays for some of my felt pens. But of course you can use them for whatever you like!

Dec 8, 2010

Dec. 8: lacey flowerpot

Another simple project for today. Simple but cute!

Just take an ordinary flowerpot and glue some lace on it and there you go!


The flowerpot before lace.


And flowerpot after lace.

As easy as it sounds!

Dec 7, 2010

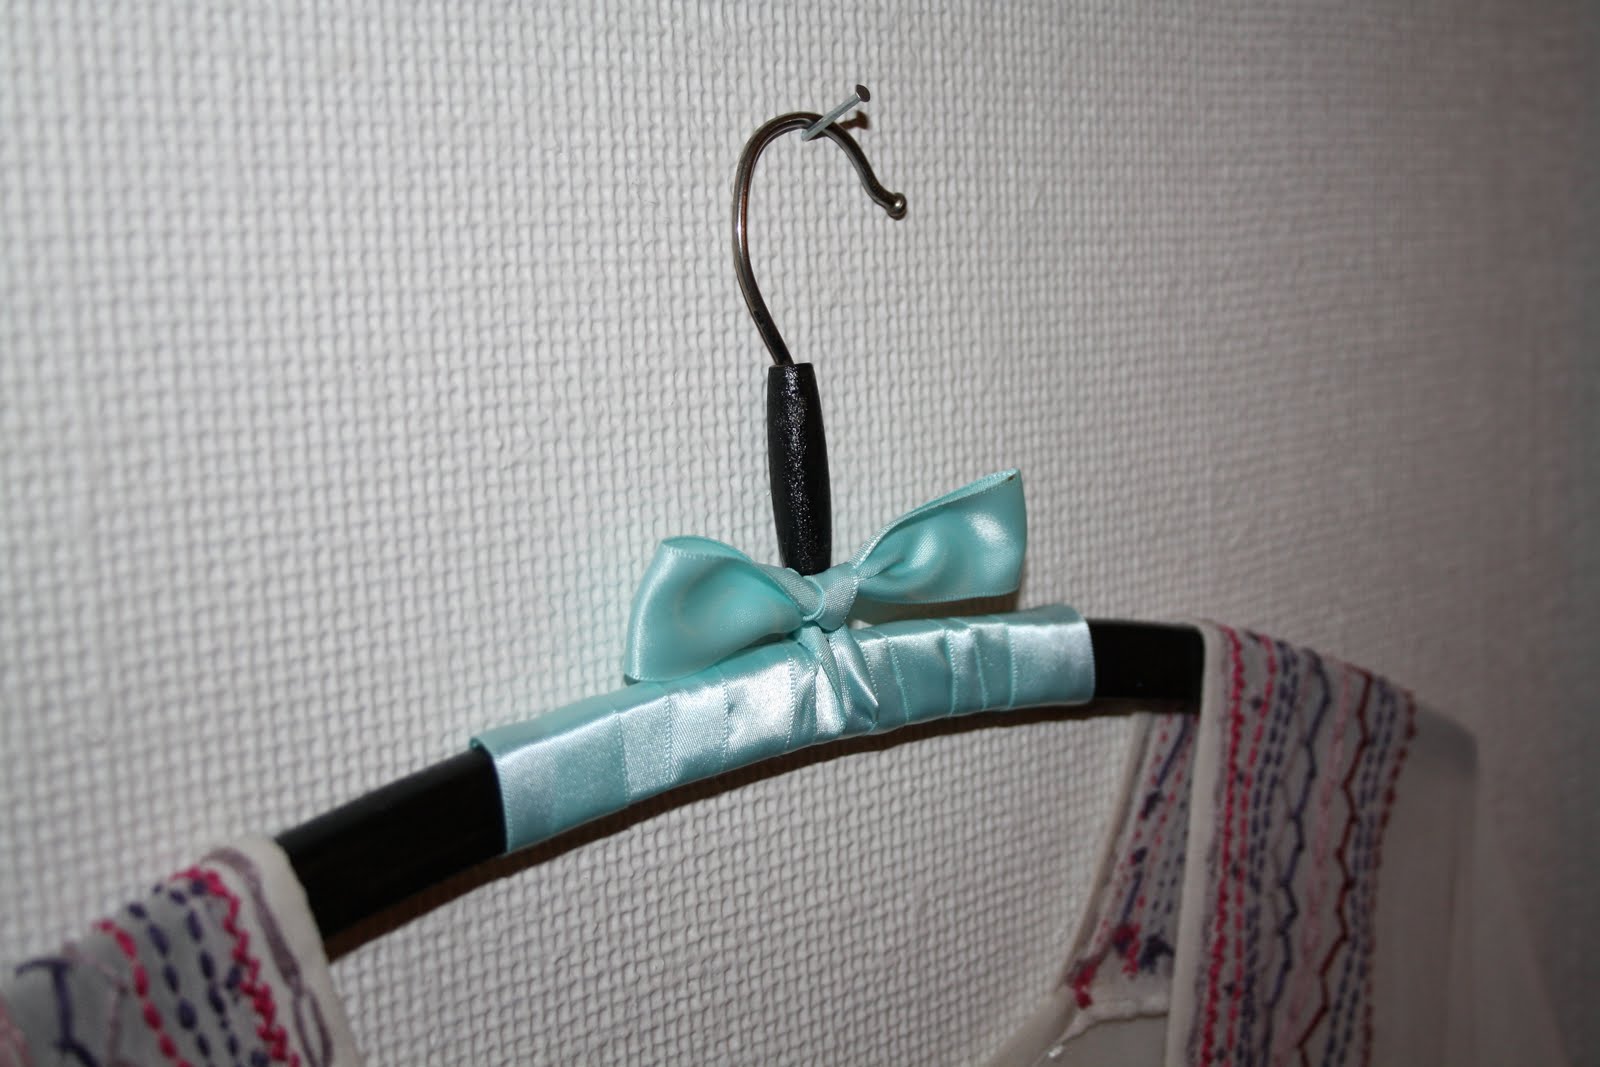
Dec. 7: Hanger

I've made a hanger today that's very simple and not so time-consuming, cause I have so much in school right now that takes up all my time.

This is the hanger before my remake:


And after some varnish colour, band and glue it looks like this:


And up with all your favourite dresses on the walls!

Goodnight!

Dec 6, 2010

Dec. 6: Lace necklace/collar

For the 6th day I made a necklace that looks like a collar from a piece of lace. I'm really happy with the result, it can turn a boring sweater into something really cute. (and my sister doesn't make it less cute, that's for sure!)


All you need is: a piece of lace, chain, lock, pins, water and wood glue.

Take a piece of lace that's a little bit longer than you want it to be in the end. Make pleats on the upper edge and pin, so that it gets rounded, like this:


Mix together the water and glue so that it looks like milk. Dip the lace in the mixture, and be sure that the whole lace get wet. Put it to dry. When it's dry it should also be a little stiff so that you can remove the pins without destroying the pleats. If you want to you can hand-sew the pleats with a few stitches, but it isn't necessary. I didn't. Now you just have to anchor the chain to the lace and put on the lock. Ready!


It's easypeasy!

Dec 5, 2010

Dec. 5: Hand printed top

For today I've made an easy sewing project that I think everybody who can use a sewing machine can make. It's a really simple shape that you can decorate in many different ways. I printed it with linoleum stamps that I cut myself. And then I decorated it with bows in the back.


Make your own:


(the measures are in centimeters)
Cut two square pieces of lightweight fabric (mine is cotton). The measurements in the pic above are the ones I used for my top, but you can of course make it bigger or smaller if you like. Cut out the neckline.

If you want to print the top, it might be easiest to do that before you sew the pieces together. If you have linoleum you can carve out your own stamp to print with. If not, I guess you can buy stamps. Or you could make a potato-stamp. Or use a stencil you make from a piece of paper. Or paint the fabric freehand. There are many ways :) Anyways, use fabric color and print your pattern on the top. Let it dry and iron as the instructions on the color says.

Sew together the seam at the shoulders and the side seam. When sewing the side-seam, leave open for the armholes. I left around 25 cm on each side for the armholes.

If you have a serger -> serge all the sides and shoulder-seams and press the seam allowance apart. Stitch down the allowance on the sides so that you get nice armholes.

If you haven't got a serger-> make french seams (thanks Grosgrain) at the shoulders. And in the sides you can double-fold the seam allowance and stitch.

Sew bias tape to the neckline and hem your top.

Now you can make the bows. Take a matching band and tie five small bow-ties. Handsew them to the top in a straight row down the back:


Finished! Hope you understood, otherwise just ask ask ask!

If you're making anything inspired from my turtorials, I would love if you e-mailed me pictures. And if you're okay with it I might show it on my blog after christmas when I'm finished with my calendar. It would be great to see your creations!

Dec 4, 2010

Dec. 4: book wrap

If someone you know likes to read, it's very easy to find gifts for him/her. I think it's much more fun to give away more than one book, for example a series of books or just a couple of books you bought in a thrift store. And instead of just wrapping them as they are, you can make something more special.

I took a piece of thick paper, cut it to a strip that I wrapped around three books and glued the ends together. Then I made a double bookmark from the same paper. I put a magnet on each side of the bookmark so that it will stay where it belongs in the book. Then I just put a string around everything and tied a bow. Now it's ready to wrap in a usual gift wrap.


Don't forget to check in here tomorrow. I've made something special for 2d advent!

Dec 3, 2010

Dec. 3: Birdie apples

I like birds. And I think that they should have food in the winter too, so I made bird apples:


This is all you need:


String, scissors, apples, branch and then the thing that I don't know what it's called. You remove the core from the apples with it so that there becomes a hole straight through the apple.

Cut a piece of string. Secure the string to the branch, like this:


(I know, the drawing is beautiful!)

Make the holes in the apples and thread it to the string. It's ready! Just hang it outside your window. And wait for the little birdies to come.

Dec 2, 2010

Dec. 2: Flower necklace

If you have followed my blog for a while, you might know that I like making jewellery from old candle-rings. Here and here I've made bracelets.

But now, for my december 2d, I decided to try making a necklace. It was as easy as the bracelets. This is all you need:


Candle-ring with flowers (from thrift store), beads, chain, lock, rings, staves.


Pick all the flowers from the candle-ring.

Put a bead at a stave and then the flower. Bend the stave to a loop, like on my nice drawing above.

Then it's just to put a lock on the chain and place the flowers where you like on the necklace. Mine looks like this:


Happy creating!

Dec 1, 2010

Dec. 1: advent candlestick

Here we go, the first flap in the calendar is open!

Me and my sister wanted a little more personal advent candlestick this year than the usual red storebought ones. We bought this one in a thrift store:


It costed us the huge amount of 100 cent, and after some varnish color, lamps and new candle-rings, this is what we got:


I made the candle-rings vith some wire and beads. It was really simple, but it's kinda hard to explain how I made them. I give you a close-up instead, and then there's just to ask if there's anything you wonder.


Just wind, wind, bead, wind, wind, more beads... Yeah, you get it.

Don't forget to stop by tomorrow for more Diy!

Have a great evening everyone!