So finally, the tutorial! The third alternative got the most votes, so here we go.

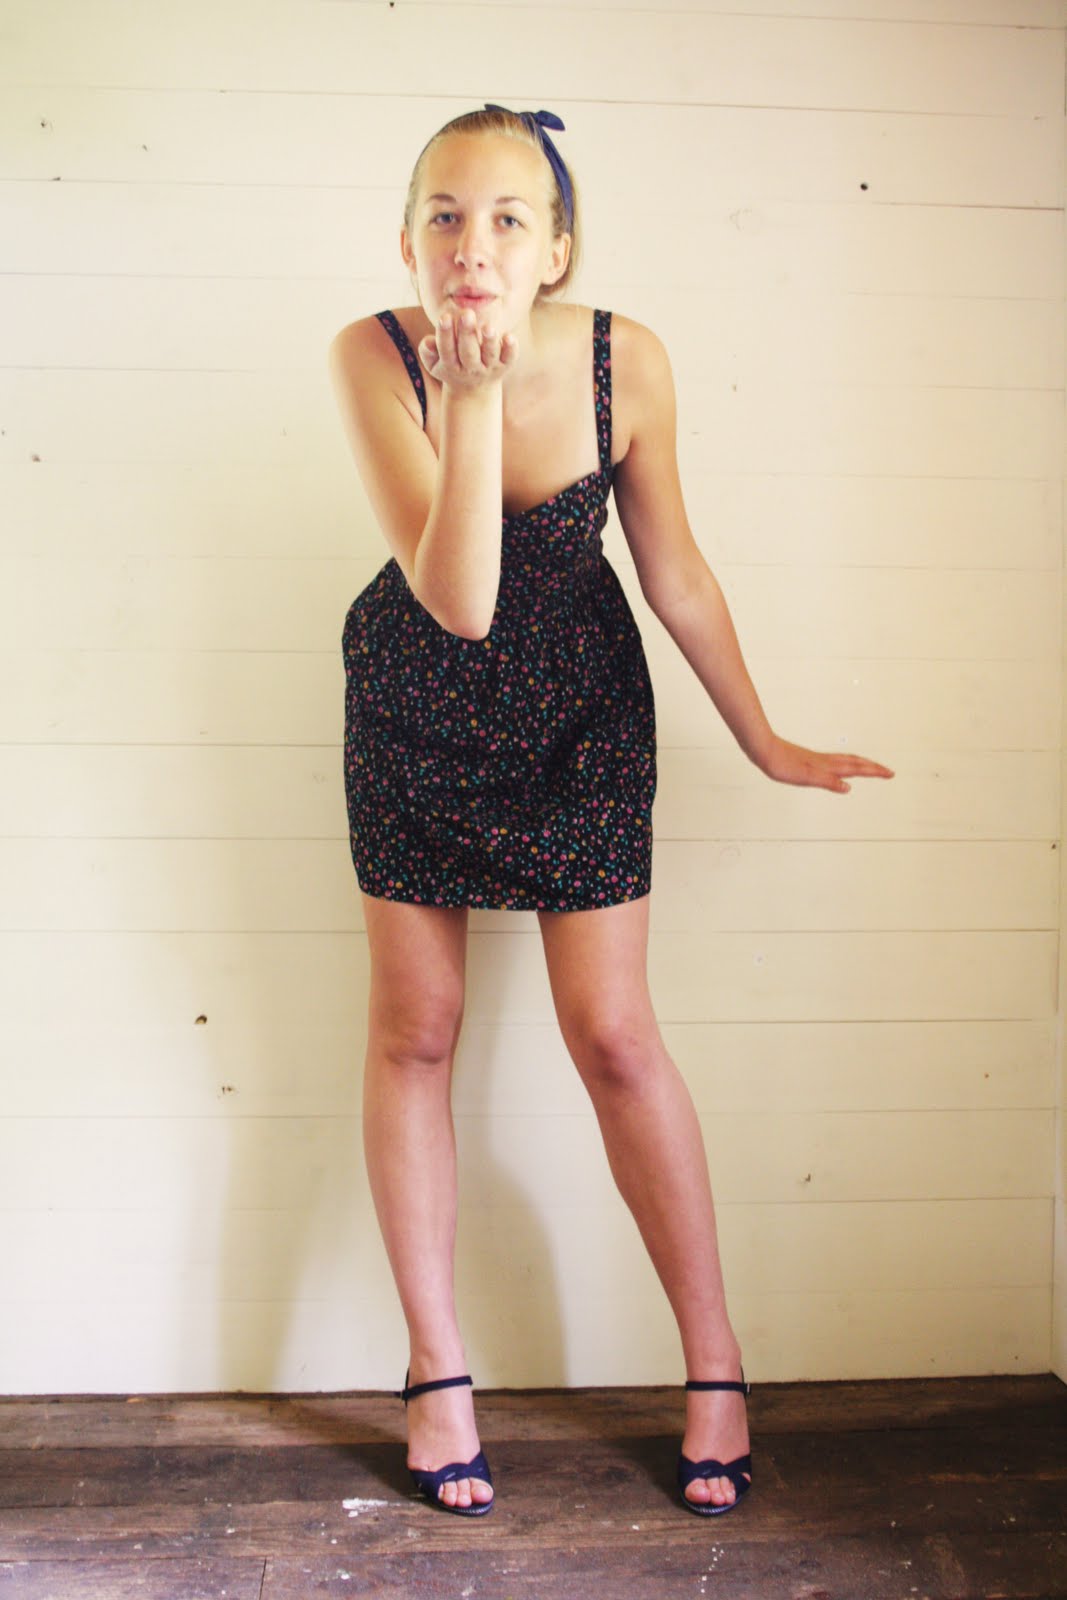
The top of this dress is made from this pattern.

We're starting with the basic bodice sloper. There might be a pattern at burda style, but I'm not sure.

Let's start with the front.
Connect the two darts. Measure 8 cm from the bust point (the point of the dart atop). Draw a line to the center front. Measure down around 4-6 cm, depending on how deep you want the upper edge to be, and make a mark. Form the upper edge with a curve. The dart shall be moved 1 cm to the right like shown in the picture.

Make the dart around 3 cm (I accidentally made it 2 cm, but I think 3 is better). Make sure the two sides of the dart got the same lenght. And draw the line in a soft curve.
And for the side, measure 1 cm in and 1 cm up and draw a line down to the waist.

Connect the dart with the side line.
Then form the right side of the lower dart with a curved line like in the picture.
The front is ready.

And then we take the back.
Make a support line straight over the bodice from underneath the armhole and another one straight through the dart.
Measure 1 cm in and 1 cm up from the support line in the side. Draw a line to the waist and make sure that it has the same lenght as the side line on the front.
Measure 0,5 cm on each side of the line you made through the dart and draw lines to the bottom of the dart. This is now the new dart.

Measure 1 cm down frome the support line and form the upper edge like you can see in the picture.

Mark the grainline by making an arrow(?) paralelle to the center front and back.
And now the construction is ready!

Make the pattern pieces. They should look like this. And we're done!
I think the best way to use this pattern is together with a skirt part, so that it becomes a cute little dress. I use to take two rectangles around 60 cm wide and 50 cm long, sew them together, gather in the waist and sew it together with the top.
If you have questions, just ask! It's hard to make a tutorial, especially in english, so some explanations might be a little weird ;)
Anyway, hope you like it! And do tell me if you make something with help from this, I would love to see!