Dec 6, 2010

Dec. 6: Lace necklace/collar

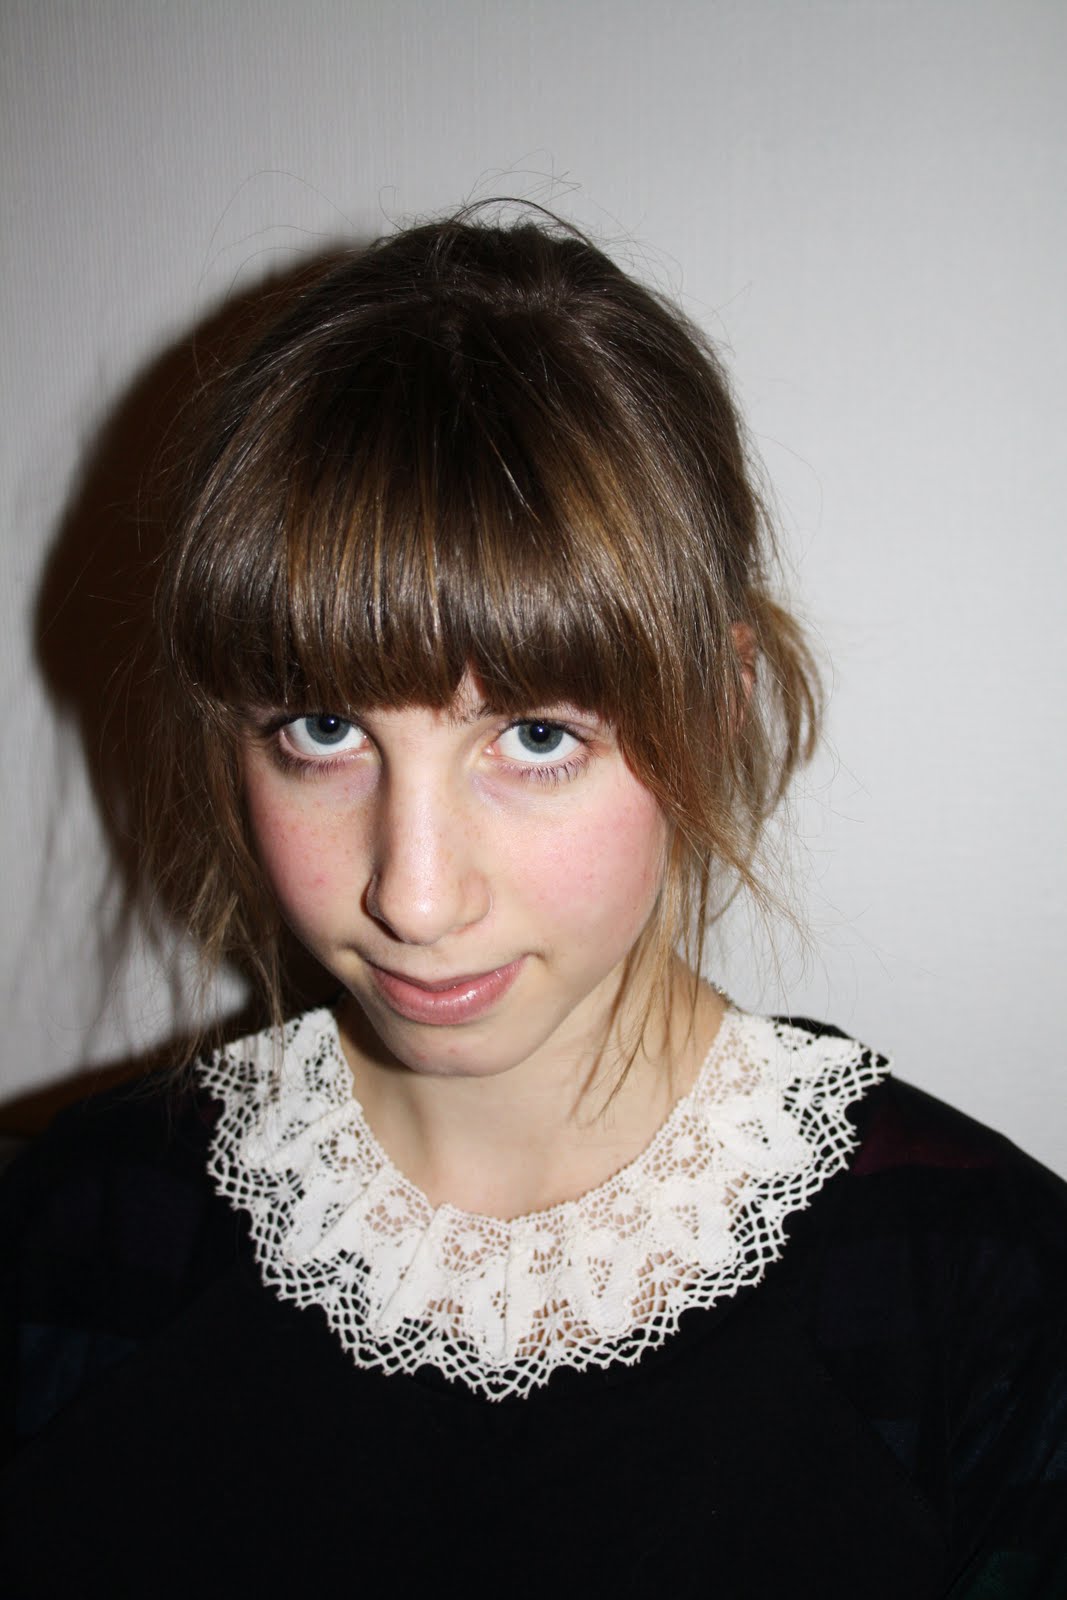
For the 6th day I made a necklace that looks like a collar from a piece of lace. I'm really happy with the result, it can turn a boring sweater into something really cute. (and my sister doesn't make it less cute, that's for sure!)


All you need is: a piece of lace, chain, lock, pins, water and wood glue.

Take a piece of lace that's a little bit longer than you want it to be in the end. Make pleats on the upper edge and pin, so that it gets rounded, like this:


Mix together the water and glue so that it looks like milk. Dip the lace in the mixture, and be sure that the whole lace get wet. Put it to dry. When it's dry it should also be a little stiff so that you can remove the pins without destroying the pleats. If you want to you can hand-sew the pleats with a few stitches, but it isn't necessary. I didn't. Now you just have to anchor the chain to the lace and put on the lock. Ready!


It's easypeasy!

Dec 5, 2010

Dec. 5: Hand printed top

For today I've made an easy sewing project that I think everybody who can use a sewing machine can make. It's a really simple shape that you can decorate in many different ways. I printed it with linoleum stamps that I cut myself. And then I decorated it with bows in the back.


Make your own:


(the measures are in centimeters)
Cut two square pieces of lightweight fabric (mine is cotton). The measurements in the pic above are the ones I used for my top, but you can of course make it bigger or smaller if you like. Cut out the neckline.

If you want to print the top, it might be easiest to do that before you sew the pieces together. If you have linoleum you can carve out your own stamp to print with. If not, I guess you can buy stamps. Or you could make a potato-stamp. Or use a stencil you make from a piece of paper. Or paint the fabric freehand. There are many ways :) Anyways, use fabric color and print your pattern on the top. Let it dry and iron as the instructions on the color says.

Sew together the seam at the shoulders and the side seam. When sewing the side-seam, leave open for the armholes. I left around 25 cm on each side for the armholes.

If you have a serger -> serge all the sides and shoulder-seams and press the seam allowance apart. Stitch down the allowance on the sides so that you get nice armholes.

If you haven't got a serger-> make french seams (thanks Grosgrain) at the shoulders. And in the sides you can double-fold the seam allowance and stitch.

Sew bias tape to the neckline and hem your top.

Now you can make the bows. Take a matching band and tie five small bow-ties. Handsew them to the top in a straight row down the back:


Finished! Hope you understood, otherwise just ask ask ask!

If you're making anything inspired from my turtorials, I would love if you e-mailed me pictures. And if you're okay with it I might show it on my blog after christmas when I'm finished with my calendar. It would be great to see your creations!
Dec 4, 2010

Dec. 4: book wrap

If someone you know likes to read, it's very easy to find gifts for him/her. I think it's much more fun to give away more than one book, for example a series of books or just a couple of books you bought in a thrift store. And instead of just wrapping them as they are, you can make something more special.

I took a piece of thick paper, cut it to a strip that I wrapped around three books and glued the ends together. Then I made a double bookmark from the same paper. I put a magnet on each side of the bookmark so that it will stay where it belongs in the book. Then I just put a string around everything and tied a bow. Now it's ready to wrap in a usual gift wrap.


Don't forget to check in here tomorrow. I've made something special for 2d advent!

Dec 3, 2010

Dec. 3: Birdie apples

I like birds. And I think that they should have food in the winter too, so I made bird apples:


This is all you need:


String, scissors, apples, branch and then the thing that I don't know what it's called. You remove the core from the apples with it so that there becomes a hole straight through the apple.

Cut a piece of string. Secure the string to the branch, like this:


(I know, the drawing is beautiful!)

Make the holes in the apples and thread it to the string. It's ready! Just hang it outside your window. And wait for the little birdies to come.

Dec 2, 2010

Dec. 2: Flower necklace

If you have followed my blog for a while, you might know that I like making jewellery from old candle-rings. Here and here I've made bracelets.

But now, for my december 2d, I decided to try making a necklace. It was as easy as the bracelets. This is all you need:


Candle-ring with flowers (from thrift store), beads, chain, lock, rings, staves.


Pick all the flowers from the candle-ring.

Put a bead at a stave and then the flower. Bend the stave to a loop, like on my nice drawing above.

Then it's just to put a lock on the chain and place the flowers where you like on the necklace. Mine looks like this:


Happy creating!

Dec 1, 2010

Dec. 1: advent candlestick

Here we go, the first flap in the calendar is open!

Me and my sister wanted a little more personal advent candlestick this year than the usual red storebought ones. We bought this one in a thrift store:


It costed us the huge amount of 100 cent, and after some varnish color, lamps and new candle-rings, this is what we got:


I made the candle-rings vith some wire and beads. It was really simple, but it's kinda hard to explain how I made them. I give you a close-up instead, and then there's just to ask if there's anything you wonder.


Just wind, wind, bead, wind, wind, more beads... Yeah, you get it.

Don't forget to stop by tomorrow for more Diy!

Have a great evening everyone!

Nov 30, 2010

Shall I ?

Tomorrow my advent calendar will start. I think. Nobody wrote a comment on my last post, so I don't know if anyone is intrested. Shall I make one? If at least one person give me a YES! on this post, I will do it. Come on now, I really want to do this!

Nov 28, 2010

My own advent calendar

As you know, christmas is not far away. I felt that I wanted to do something special here on my blog before christmas. And you know the advent calendars you had when you were a kid, I kinda miss them. When you got to open one flap each day before cristmas and find something in there.

Well, I thought I would make my own advent calendar here. A DIY-calendar.

Starting 1th of december, ending christmas eve (which is the day that we celebrate here in sweden), I will make a small DIY-project every day and share it with you here on the blog and write how I made it. It can be re-makes or made from scratch. It can be christmas decorations or christmas presents or something totally different.

So, at least one post every day filled with fun projects and tips, I think it will be really fun, hope you're with me!

Nov 27, 2010

Bella


I made this dress last year as a christmas gift for my niece Bella. I think it turned out pretty cute!

Nov 21, 2010

Fun fun fun

I have a fun and creative idea for my blog, you'll see in a week! ;)

Nov 18, 2010

Just kids

Some of the stuff I bought in london:


Cute sweater from Camden market


Dotted dress from Zara


Necklace from Primark


Snake bracelet, also from Primark


Pattern magic from the best bookshop ever; Magma


Cat-printed dress from Camden


Necklace from Portobello


And "Just kids" from Portobello too

Nov 15, 2010

Fabricaholic


Cotton, cotton, poly/cotton, cotton, poly/cotton, poly/cotton, wool


I bought lots of fabrics in London, on Goldhawk Road. I've never seen so many fabric-shops at the same street before. And I've never bought so many dotted fabrics at the same time before.

Nov 14, 2010

Frills


Months ago I posted a sneak peek on a garment I was working on, and now I've finally finished and documented it. So here's the little top with the chiffon frill. I like that the buttons and the lining matches.

Nov 11, 2010

London again


More Portobello.


What a cute sister!


We managed to catch two typical-London-things in one photo
- the red bus and Picadilly Circus


Rokit vintage = <3


I'm awesome in my new mittens!


I love brightly coloured houses.