Showing posts with label DIY. Show all posts

Sep 28, 2011

skull


A men's t-shirt + some cutting = a new top for me. I like!

Sep 19, 2011

Banana split


Banana split must be one of the best desserts ever - it's easy to make and tastes lovely! At least when you make your own chocolate sauce.

Chocolate sauce:
Mix 1 dl water and 1 dl sugar in a pot and let it boil. When boiling, stir down 1 dl cacao in the water. Let it boil until the texture is good. Ready! This gives enough sauce for around 4 portions.

Banana split:
Put vanilla ice cream, sliced banana and whipped cream in bowls and put the chocolate sauce on top. Eat and enjoy!


Sep 2, 2011

How to

So this is how I dyed my dress with the tea:
  • Fill a big pot with water and heat it until it's simmering
  • Put some tea-bags (I took 8) in the water 
  • Then put the dress in the pot and let it boil between 30-60 minutes depending how dark you want the color to be. Mine boiled for around 30 min (I'm way too impatient to wait longer than neccessary :)) You have to mix some times so that the tea bags doesn't make darker spots on the fabric.
  • 10 mins before you take out the dress, put around one cup of salt in the water and mix.
  • Take out the dress and rinse with cold water.
  • Put to dry, and then you're done!
If you do this I'd love to see your result, so don't you dare not telling me about it ;)
Goodnight!

Tea-dress

 Now I've tried to dye with tea. I had this white dress that I never used just because it was white. And I don't really like wearing white clothes. So I decided to try what I've been wanting to try for so long. If anyone is interested, just ask and I'll make a tutorial. The funny thing is that you never know what the exact color will be until it's ready. This dress turned out to be some kind of grey-purple, I like!
Anyway this is the result:


Aug 14, 2011

Hello

Long time, no see. As you might know I've been in Barcelona for the summer. I love that city, it wasn't the last time I was there, that's for sure! I worked as an au pair, which I didn't enjoy that much, but it was ok. Anyway, the free time I had I really enjoyed, exploring Barcelona and meeting fun people.

I have way too many pictures to show all here, and right now I'm to lazy to pick out a few. So instead I'm gonna show you something I've made. And maybe some barcelona-pics will appear here in a while. I have some new and some old garments to show you, but they will have to wait (I'm on the wrong computer) So first out is a cake plate that I made out of a plate and a candlestick.

Before:


And a few minutes and a little glue later:


Mar 12, 2011

Tutorial: bodice with sweetheart neckline

So finally, the tutorial! The third alternative got the most votes, so here we go.


The top of this dress is made from this pattern.


We're starting with the basic bodice sloper. There might be a pattern at burda style, but I'm not sure.


Let's start with the front.

Connect the two darts. Measure 8 cm from the bust point (the point of the dart atop). Draw a line to the center front. Measure down around 4-6 cm, depending on how deep you want the upper edge to be, and make a mark. Form the upper edge with a curve. The dart shall be moved 1 cm to the right like shown in the picture.


Make the dart around 3 cm (I accidentally made it 2 cm, but I think 3 is better). Make sure the two sides of the dart got the same lenght. And draw the line in a soft curve.

And for the side, measure 1 cm in and 1 cm up and draw a line down to the waist.


Connect the dart with the side line.

Then form the right side of the lower dart with a curved line like in the picture.

The front is ready.


And then we take the back.

Make a support line straight over the bodice from underneath the armhole and another one straight through the dart.

Measure 1 cm in and 1 cm up from the support line in the side. Draw a line to the waist and make sure that it has the same lenght as the side line on the front.

Measure 0,5 cm on each side of the line you made through the dart and draw lines to the bottom of the dart. This is now the new dart.


Measure 1 cm down frome the support line and form the upper edge like you can see in the picture.


Mark the grainline by making an arrow(?) paralelle to the center front and back.

And now the construction is ready!


Make the pattern pieces. They should look like this. And we're done!

I think the best way to use this pattern is together with a skirt part, so that it becomes a cute little dress. I use to take two rectangles around 60 cm wide and 50 cm long, sew them together, gather in the waist and sew it together with the top.

If you have questions, just ask! It's hard to make a tutorial, especially in english, so some explanations might be a little weird ;)

Anyway, hope you like it! And do tell me if you make something with help from this, I would love to see!

Mar 4, 2011

100

This is my 100th post. Yay!

Let's celebrate with a tutorial. You choose one of the three below, and I'll make a tutorial for the one with the most votes as soon as I can. Okay?

Alternative number one:


I'll describe how to sew a simple skirt like this. Or..

Alternative number two:


I'll let you know how to make this dress. Or..

Alternative number three:


I'll teach you how to make a pattern like this from a basic sloper.

Sooo, which one should I make? It's up to you :)

Feb 23, 2011

Coral dress remake


This is a dress remake I made a long time ago. I thought I'd already posted it here, but apparently I hadn't.. I bought the dress in a thrift store just to kill it and make it into a new dress.

How I wish it could be spring! I want to be able to go outside the door in a denim jacket and sneakers without getting frozen to death. Or at least I want to be able to put my nose outside the door without getting frozen to death. That'd be something.

Feb 12, 2011

Piano keys


This is my absolute favorite necklace. A long time ago I saw a piano necklace somewhere, and I said to my sister that I wanted it. And guess what, she made me this! and it's even better than the one I saw. I've said it before and I'll say it again, she's the best. :)

Dec 24, 2010

Dec. 24: Dress remake

Today is christmas and the last day of my advent calendar. It's been so fun, I'll definitely do this next year too!

Todays project is a dress that I re-made a while ago, I didn't make it today because christmas is one of few days I'm not sitting by my sewing machine ;)


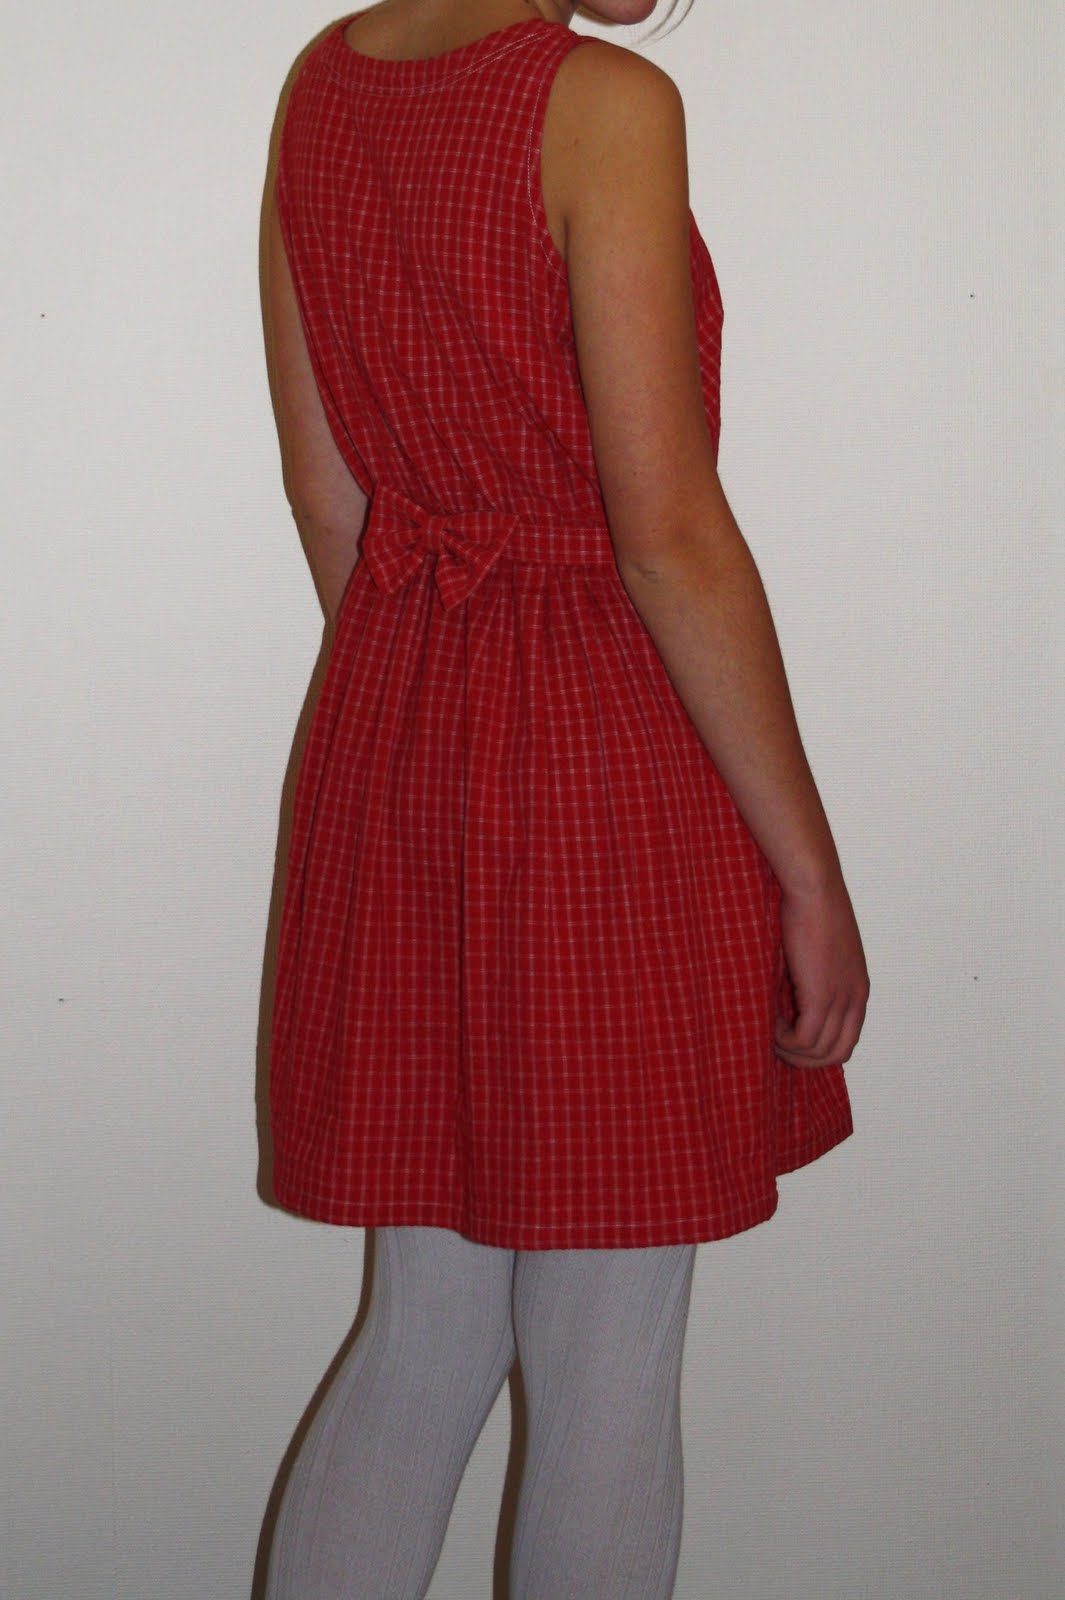
This is the dress before, too long, too big, too boring:


I added an elastic string in the waist and shortened the dress. Then I made two bands and a bow tie from the fabric I cut from the bottom of the dress. I sewed the bands in the sides of the waist, attached the bow tie to one of them and finished with snaps.


Merry Christmas everyone!!

Dec 23, 2010

Dec. 23: Cornflakes-candy

It's Christmas Eve tomorrow!!! I'm as agog as a child :)

Today I've been making candy. Cornflake-candy is probably the easiest and most tasty candy ever!


(It is nicer than it looks!)


Melt some chocolate in a water-bath. When it's ready, mix it with some cornflakes and coconut flakes. Click out on a baking paper and put it in the spence or the fridge. Then eat!

Goodnight!

Dec 22, 2010

Dec. 22: Knitted headband

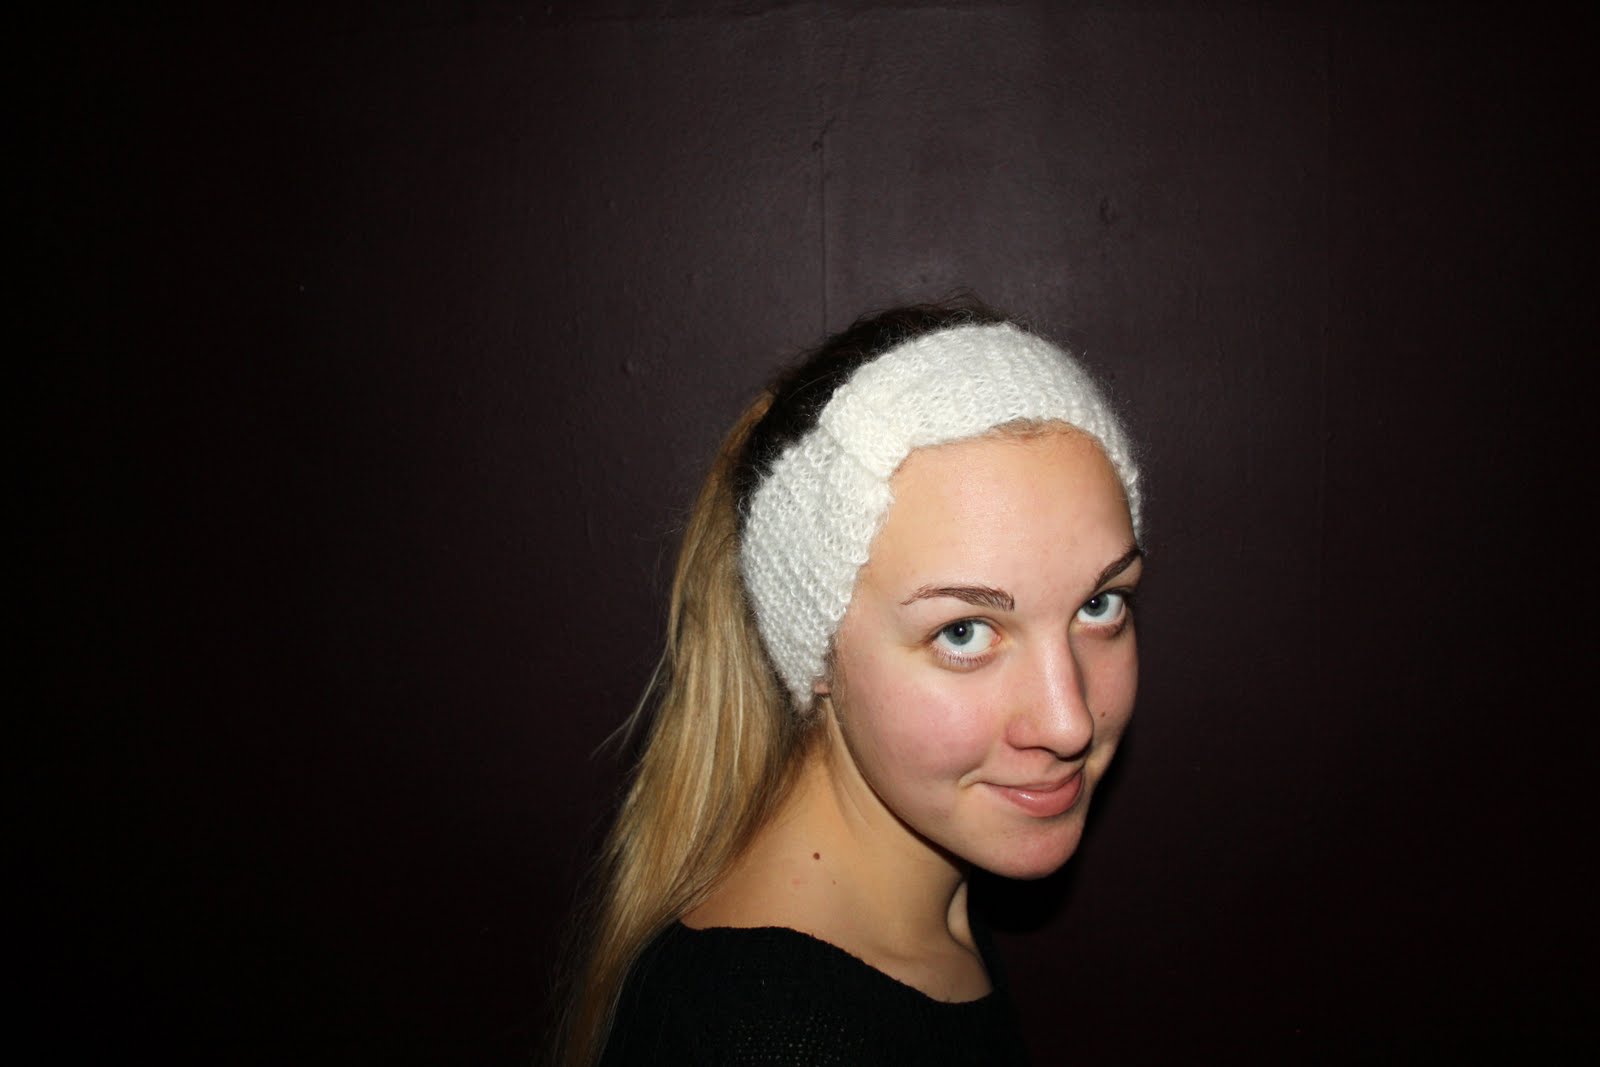
Ive been knitting on a headband for a while now. Knitting isn't really my cup of tea I've discovered. It's so interminably and I'm so slow. But I'm happy to have finished something just for this once. Here's the result:


I knitted a long band that reached around my head and sew the ends together. Then I knitted a small band that I sew around the first one so that it gathers a little.

If I could change something now, I would've made it a little wider. But I like it anyway!

Dec 21, 2010

Dec. 21: painted dishcloth

My christmas holiday started today!!

And I've painted something as boring as dishclothes. But after the re-make they aren't as boring as before:


Hearts on one side..


..and rabbits on the other.


Elephants on one side..


...and polka dots on the other.

I bought some white dishclothes and painted it with a pen for fabrics. The instruction says: "Fix the paint by ironing on the reverse of the cloth for approx 2 minutes with the iron set to cotton", but of course I read that after I painted both sides of the cloth! So I put a cotton-fabric between the dishcloth and the iron so that the print wouldn't get destroyed.

Maybe washing will get just a teensy weensy bit more fun now? Nooo, I don't think so, but still! ;)

Dec 20, 2010

Dec. 20: can candle-holders

Today I've made two candle-holders from old aluminium cans:


You need cans, hammer and a nail. Wash the cans carefully and remove the label, make holes in the cans with the nail and hammer. Put a tea light in and light it. Cozy!

Dec 19, 2010

Dec. 19: candles

Christmas Eve isn't far away now! To work up the coziness, I made some candles.


I found both the little cup and the two tealight-holders in a thrift store a while ago.


Take old candle-ends and melt it in a water-bath. A tip is to use a can to have the candle-ends in and put it in a kettle with water.


While the stearine is melting, prepare the wick. Tie it around a match or a pencil or something similar. Cut the wick so that it's long enough to reach down to the bottom.

Fill it with the melted stearine and let it stiffen. Then cut of the wicks and the candles are ready!

Dec 18, 2010

Dec. 18: christmas gift wraparounds

Today I've been wrapping christmas gifts. I love to make different exciting wraps for every gift. Here are some ideas of two different wraparounds:


Use two different colors on the gift wraps. Wrap the gift in one of the colors, cut a strip of the other one and glue around the parcel. Tie a ribbon around everything.


Make your own doily (you know, fold a round piece of paper a few times and cut out patterns in the edges) and glue it on a brown gift wrap. Tie a string (I made it double) around it and it's ready.


I'm very happy with the result, especially with the brown one with the doily.